Welcome to the world of do-it-yourself AI! Did you know that you can make artificial intelligence from everyday objects? It’s true! With the right tools and a little creativity, you can harness the power of AI in your very own DIY projects, all without needing to be a skilled programmer.
Imagine building a portable device to identify objects, recognize body poses, and even respond to voice commands. Sound too good to be true? It’s not! Thanks to the AIY Maker Kit, you can make this a reality.
The AIY Maker Kit is a comprehensive package with a Raspberry Pi and a few essential accessories, such as a camera and microphone.
These components, combined with machine learning technology, enable you to create TensorFlow Lite models that can recognize your own objects and speech commands.
Don’t worry if you’re new to this. The AIY Maker Kit comes with step-by-step instructions guiding you through the process. You’ll be surprised at how easy and enjoyable it is to build your AI device using everyday objects.
Contents
- 1 List of Materials Needed
- 2 Getting the Hardware
- 3 Creating a Case
- 4 Setting up Your AI Device
- 5 Conclusion
- 6 FAQ
- 6.1 How can I make artificial intelligence out of everyday objects?
- 6.2 What materials do I need to build an AI device?
- 6.3 Where can I purchase the necessary hardware for building an AI device?
- 6.4 What options do I have for creating a case for my AI device?
- 6.5 How do I set up my AI device?
- 6.6 What is the benefit of building an AI device from everyday objects?
- 7 Source Links
Key Takeaways:
- The AIY Maker Kit allows you to create your AI device using everyday objects.
- Thanks to the clear and detailed instructions, no programming skills are required to build your AI device.
- The AI device can identify objects, recognize body poses, and respond to voice commands.
- Materials needed for the project include a Raspberry Pi, a camera, a microphone, and other accessories.
- The AIY Maker Kit provides an accessible and fun way to explore the world of artificial intelligence.
List of Materials Needed
To build your AI device, you will need the following materials:
| Materials |
|---|
| 1. AIY Maker Kit |
| 2. Raspberry Pi Camera |
| 3. Raspberry Pi 4 (or Pi 3) |
| 4. Coral USB Accelerator |
| 5. microSD card (8GB or larger) |
| 6. 5V/3A power adapter (USB-C for Pi 4 or Micro-USB for Pi 3) |
| 7. USB microphone |
These materials are essential for building your AI device. Make sure to gather all the components before you start.
Getting the Hardware
All the necessary hardware can be purchased from various electronics distributors. To build your AI device, you will need the following components:
AIY Maker Kit
The AIY Maker Kit is the foundation of your AI device. It provides the essential components and instructions for building your artificial intelligence projects. You can purchase the AIY Maker Kit online from reputable electronics retailers.
Raspberry Pi camera
The Raspberry Pi camera is integral to your AI device, enabling image and video capture. You can easily find the Raspberry Pi camera online, which is compatible with the Raspberry Pi models listed in the materials section. It offers high-quality imaging for your AI projects.
Coral USB Accelerator
The Coral USB Accelerator is a powerful hardware accelerator that enhances the performance of your AI device. It is explicitly designed to work with TensorFlow Lite models and adds hardware acceleration for ML tasks. You can purchase the Coral USB Accelerator online to unlock the full potential of your AI projects.
Personal computer with Wi-Fi
In addition to the hardware components, you will also need a personal computer connected to Wi-Fi. This can be a Windows, Mac, or Linux computer. The computer is your control center for flashing the microSD card and managing your AI device.
By acquiring these hardware components, you will have everything you need to transform everyday objects into powerful AI tools.
Also read: How Artificial Intelligence Is Changing the World
Creating a Case
When building your AI device, you’ll need a case that protects the components and adds a touch of personalization. Two options are available for creating a case: a 3D-printed or a cardboard case.
3D-Printed Case
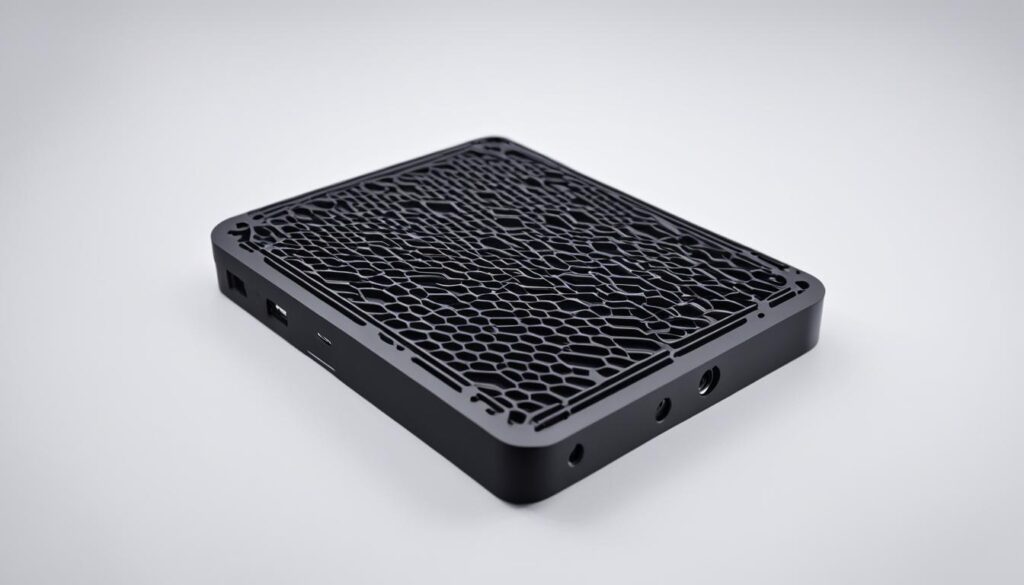
If you can access a 3D printer, you can easily download and print a custom 3D-printed case for your AI device. This option allows for precise measurements and intricate designs.
You can find a variety of ready-to-print Case designs online that cater to different AI device configurations. Choose a design that suits your style, download the file, and print it using your 3D printer.

Cardboard Case
Don’t have a 3D printer? Don’t worry! You can still create a case for your AI device using readily available materials like cardboard. This option is cost-effective and allows for creative DIY customization.
To create a cardboard case, you will need sturdy cardboard, a ruler, a cutter, glue, and other decorative materials like colored paper or washi tape. There are templates and instructions available online that guide you through the process step by step.
“A cardboard case is a great way to unleash your creativity while protecting your AI device.”
– DIY Tech Magazine
Whether you choose a 3D-printed or a cardboard case, make sure it fits the dimensions and layout of your AI device. A well-designed case not only enhances the visual appeal of your device but also provides necessary protection and durability.
Also read: What Do Experts Say About Artificial Intelligence?
Setting up Your AI Device
Now that you have gathered all the necessary materials, it is time to set up your AI device. Follow these steps to get your device up and running.
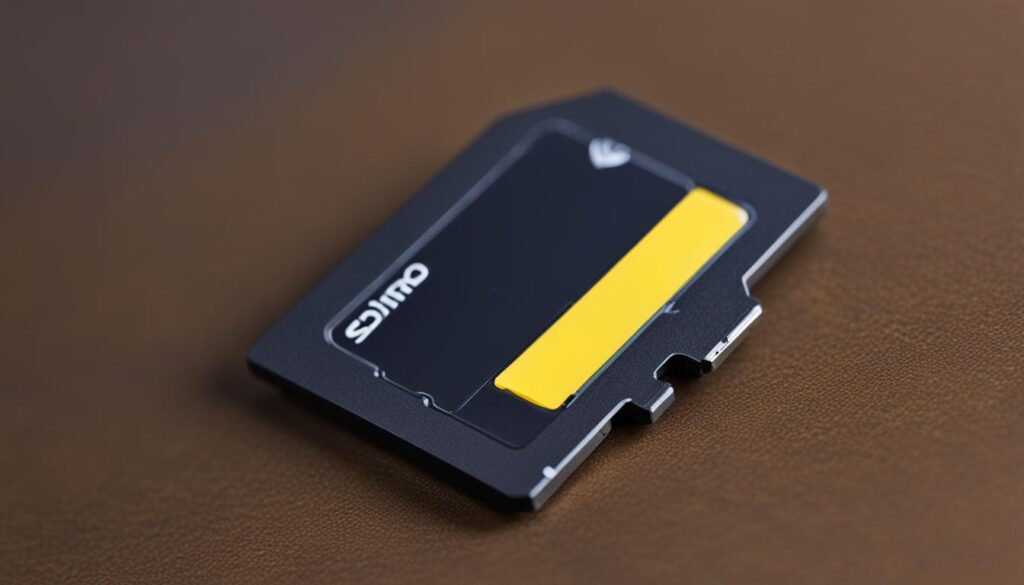
- Flash the SD Card: Start by flashing the microSD card with the AIY Maker Kit system image. This image contains all the software and settings required for your ML projects. The flashing process will ensure your device has the necessary tools for artificial intelligence.
- Assemble Your Device: Assemble your AI device once the SD card is flashed. Follow the detailed AIY Maker Kit manual instructions to securely attach the Raspberry Pi, camera, Coral USB Accelerator, and other components. Ensure that all connections are correctly made and secure.
- Turn On Your AI Device: After assembling your device, it’s time to power it on. Connect the AI device to a power source using the appropriate power adapter. Once connected, press the power button or switch to turn on your device. You will soon see the device booting up and initializing the AI capabilities.
It’s important to note that you must correctly shut down the system before unplugging the power or shutting down your AI device. This will help avoid any potential data corruption on the SD card. Always follow the proper shutdown process as instructed in the manual.

Now that your AI device is ready to go, you can start exploring the exciting world of artificial intelligence at your fingertips.
Conclusion
Building an AI device from everyday objects is an exciting opportunity to delve into the world of artificial intelligence. With the AIY Maker Kit and some essential hardware components, you can transform ordinary items into powerful tools that can identify objects, recognize body poses, and respond to voice commands.
Even if you don’t have any programming experience, you can easily follow the step-by-step instructions provided and create your own AI projects. The kit has been designed to be accessible to everyone, ensuring anyone can explore the possibilities of DIY AI technology.
Imagine the potential of your home items when imbued with the power of artificial intelligence. From simple household objects to everyday gadgets, you can bring them to life with AI capabilities. Embrace the opportunity to unleash your creativity and embark on the journey of building your own AI device using everyday objects!
FAQ
How can I make artificial intelligence out of everyday objects?
You can make artificial intelligence out of everyday objects using the AIY Maker Kit, which provides a quickstart manual for embedded AI projects. With a Raspberry Pi, camera, microphone, and other accessories, you can build a portable device to identify objects, recognize body poses, and respond to voice commands.
What materials do I need to build an AI device?
To build your AI device, you will need the following materials: Raspberry Pi Camera, Raspberry Pi 4 or Pi 3, Coral USB Accelerator, USB-C cable (included with Coral), microSD card (8GB or larger), 5V/3A power adapter (USB-C for Pi 4, or Micro-USB for Pi 3), and a USB microphone.
Where can I purchase the necessary hardware for building an AI device?
You can purchase the AIY Maker Kit, Raspberry Pi camera, and Coral USB Accelerator from various electronics distributors online. Additionally, you will need a personal computer connected to Wi-Fi, which can be a Windows, Mac, or Linux computer.
What options do I have for creating a case for my AI device?
There are two options for creating a case for your AI device. The first is a 3D-printed case that can be downloaded and printed using a 3D printer. If you don’t have access to a 3D printer, you can also create a case using cardboard and other materials. Instructions and templates for both options are available for download.
How do I set up my AI device?
Before you can start using your AI device, you must flash the microSD card with the AIY Maker Kit system image, including all the necessary software and settings for the ML projects. Once the card is flashed, you can assemble your device and turn it on. It’s essential to properly shut down the system before unplugging the power to avoid corrupting the SD card data.
What is the benefit of building an AI device from everyday objects?
Building an AI device from everyday objects is an accessible and fun way to explore artificial intelligence. With the AIY Maker Kit and some essential hardware components, you can create a device that can identify objects, recognize body poses, and respond to voice commands. By following the step-by-step instructions, even those without programming experience can build their own AI projects and unlock the potential of their home items.


